Below you can find my entry for the Bleder Guru contest (where the topic was the "future").

Blender Guru's competition page: http://www.blenderguru.com/the-future-competition-results

I'm really glad to have won the contest, I learned a lot from this project (especially in textures workflow); I encourage anyone who wants to get involved to participate in the next contest, and do their best!

Modeled in blender, rendered in Octane, photoshop for the textures

compositing

dettaglio1


edit post
The central part of the motor is quite finished, now I go ahead for further details

clay14

motore_1

motore_2

edit post
Finally I finished the upper part of the steer. Like the frame, I added some weld seam with a sculpting program, and then bake the normal maps.

clay12

clay13

The next part will be the motor!


edit post
I finished my first render of an indoor scene. I was inspired by a picture that I found in a brochure of Foscarini, changing a few things. Modeled with Blender and rendered with octane.

Concrete indoor


edit post
Finally a new update of the motorcycle!
I've finished the front fork, the wheel, the brakes and the frame, adding the weld seams using a sculpting program.

Here it is a simple test for the weld marks, done with a separate objects subsequently sculpted and baked to obtain the normal maps:


And a clay render for the progress done so far:


edit post
After the last car I wanted to do something a little different, a motorcycle.
Searching troughs the various models I immediately fell in love with the agusta bestiale, a concept body mounted on the agusta brutale.


Being based on an existing bike I've found the workshop manual for references.

For the moment I have modeled some parts of the front fork and brake.

Here's the render:


and an image for reference:


edit post
Finally I finish this project, here are the two renders that I choose:

garage_mod

scultura3

(click on the images for a bigger pic)
Rendered with octane.

WIP posts


edit post
I'm near the end of this project, I did a test and modeled the air intake, here is the result:

prova5

and the same shot without the air intake:

prova4

This is a little update on the sunset shot:

sunset_3

And the wires for the model:

wire_front

wire_rear


edit post
Last update on the modelling process, the front and the rear lights:

light_front

light_rear


Now it's time for the environment and lighting, I think I'll do two scenes, one more classic with a backdrop, to show the car, and another more artistic; I have some ideas in mind.

I will use as render engine cycles to position the reflection light, and Octane for the final render.


edit post
It's wheels time!

clay5

(the main disk part come from this http://www.blendswap.com/3D-models/v...with-textures/)

And the updated front and rear clay render:

clay3

HI-RES LINK

clay4

HI-RES LINK

I think it's 90% complete, I need to model only the internal parts of the front and rear lights, and maybe add some details here and there.


edit post
This project is about a concept car drawn by Scott Robertson that I found in the book "Start your engines" (another great book to have in your library), here it is the image for my references:


This is my progress: the hull is almost done, the headlights must be re-shaped, but I'm overall satisfied.

front_clay

side_clay

clay1

clay2

edit post
Finally another update for the upper body:

8

7

I'm near to finish the rear parts, and later I'll tweak here and there.


edit post

Cuboid aliens

Posted on 07:06, under ,

I want to show you a quick render I made, inspired by an illustration of Emanuele Tenderini

http://emanueletenderini.blogspot.com/2011/01/dei-2.html

When I saw these cuboid things, I absolutely had to do it

Cuboid aliens

At first I tried to make something more realistic, but the result was a bit too
creepy:

Cuboid aliens ver_1


edit post
Finally, the final rendering.
I added some post processing effects using blender nodes, such as glare, vignetting, color belance, etc..

hi-res_composite

Here you can find the work in progress: W.I.P. link


edit post
This is the first tutorial I write so I hope to be clear.

I wanted to show you how to add some textures to a material to reach the effect called whethering.
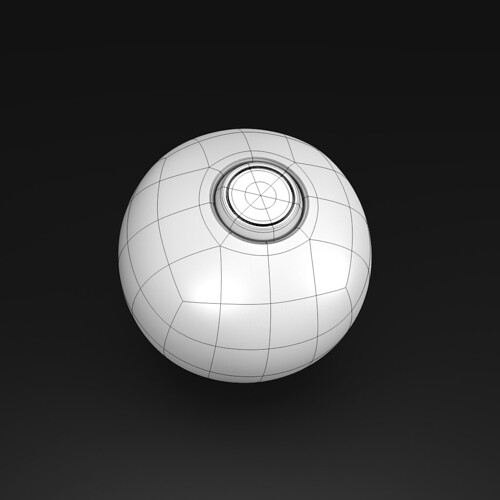
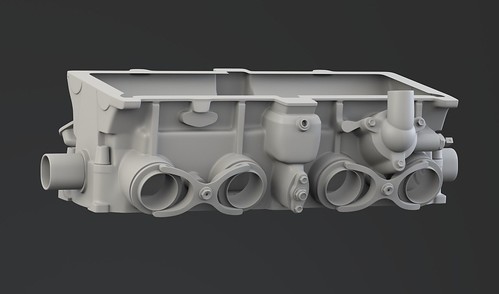
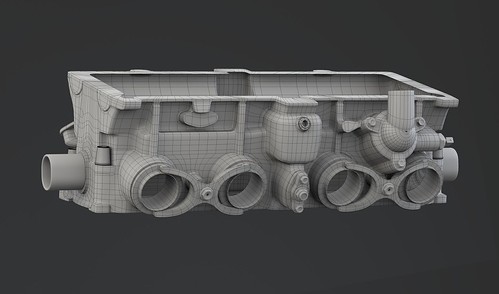
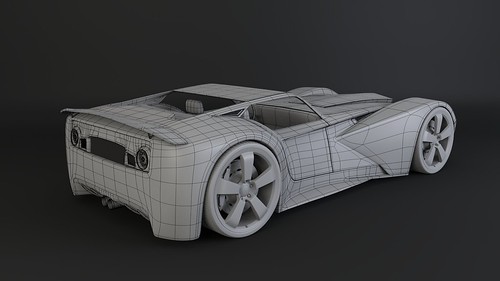
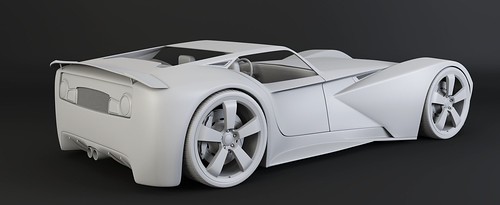
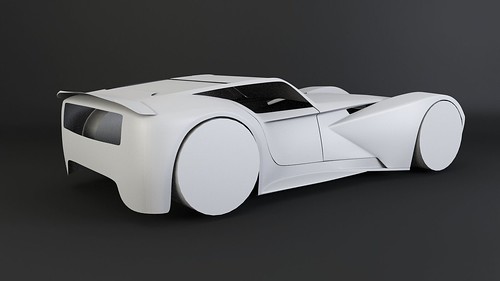
For this example I'll use a simple sphere with a hole, inside which there is a small screw.
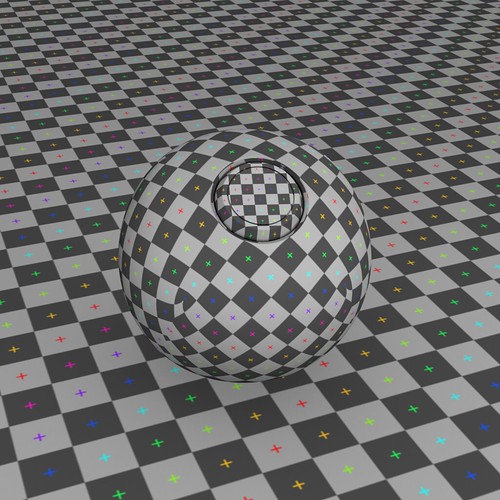
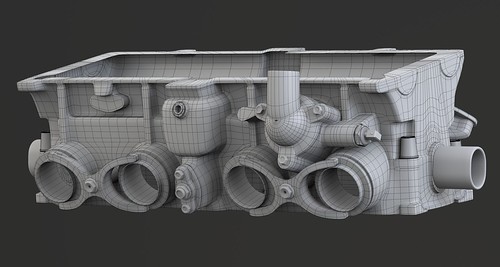
Here you can see the wire and a render test for uv mapping (uv mapping is essential for texturing).

wireuv

This is the texture order for the shpere:
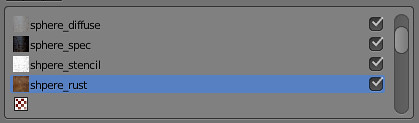
dettaglio1

and for the detail:

dettaglio2


First af all you need to set a basic material:

new

screen7

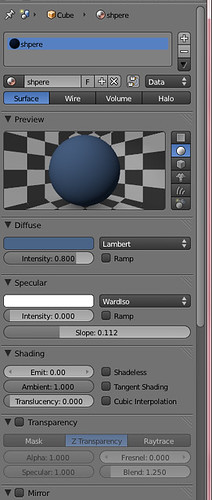
I set to 0 the specular intensity value because we will use a texture to control it.
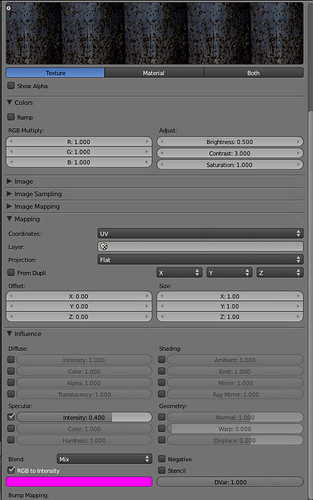
Let's apply the first set of textures (diffuse and specular), using the same image.
In this case I used "RustPaint0304_L" from cg textures.

Use this parameters for diffuse:

screen1

and specular:

screen2

Reaching this result:

passo1

After this step you'll have a nice bump texture, and a slight change in color, but the rust will not be satisfactory at all.

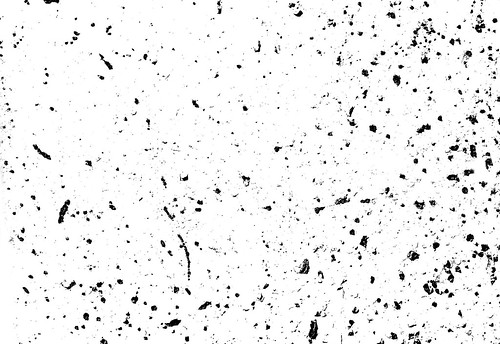
To enhance the rust I used a stencil map + a plain rust image; the stencil was created in photoshop from the image used in the previous step modifying the levels, getting a picture with a markedly contrasts:

stenic2

Now apply this image as a stencil using the following parameters:

screen3

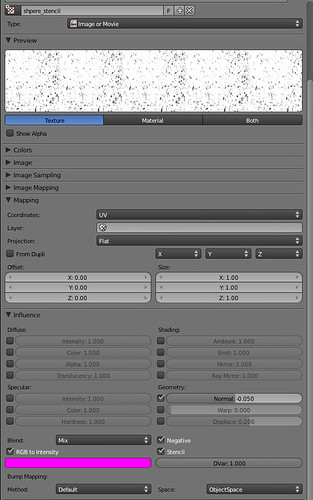
below the level of the stencil I put a picture of generic rust (in this case Rust0185_1)
After rendering, you'll get this result:

passo2


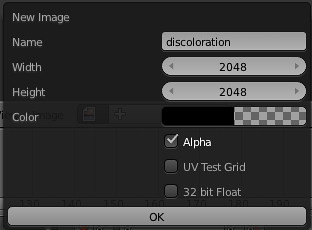
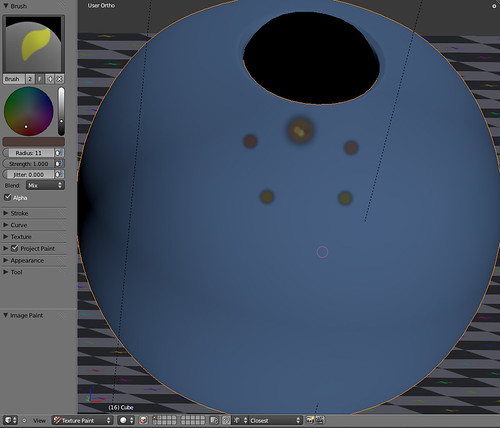
Now we begin to use the project painting for the discoloration:
we start creating an image 2046x2048 with a level of alpha = 0

dettaglio3

then enter into texture paint mode and begin to color our ball using a very big brush with a low straight, using colors like dark brown, yellow and green, to simulate the yellowing of the paint, dripping, and other signs of aging.

screen4

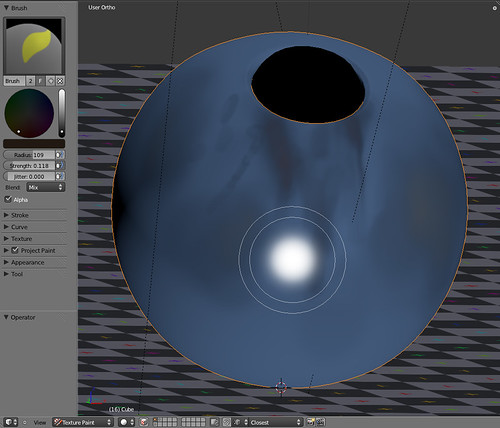
Save the texture, check "premultiply" and add it in the textures of the material; finally launch a render:

passo3

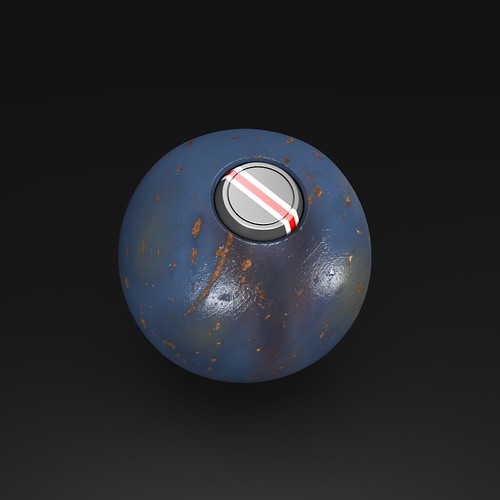
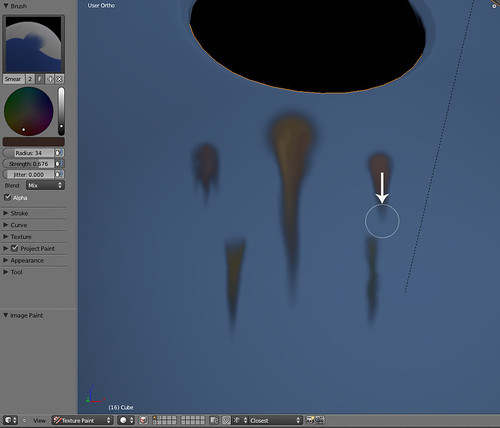
Create another texture with the same parameters of the previous image; in this one draw the details that will be more visible, using the again the project painting.

At first draw some dots where we want to make the dripping effect and then use the smear tool for stretching the dot down and obtain the desired result.

screen5

screen6

dettaglio4

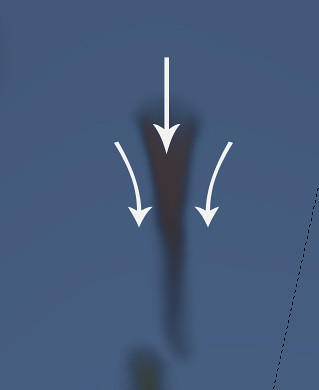
Wider will be our color palette, more the result will be satisfactory; we can add more colors in the same spot, which will must be mixed together using again the smear tool.

This technique is the same used for weathering a models kit, using procedures like these: http://www.mainlymedieval.com/ozpainters/viewtopic.php?t=827

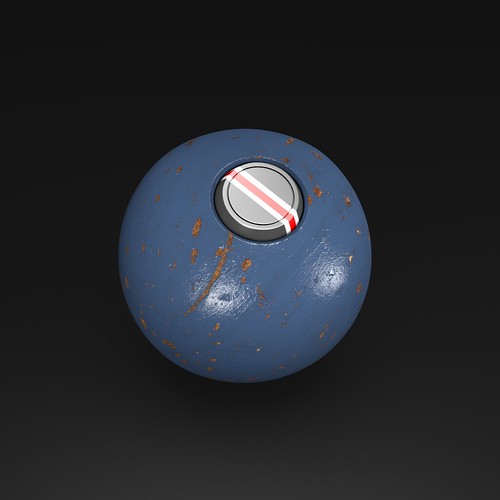
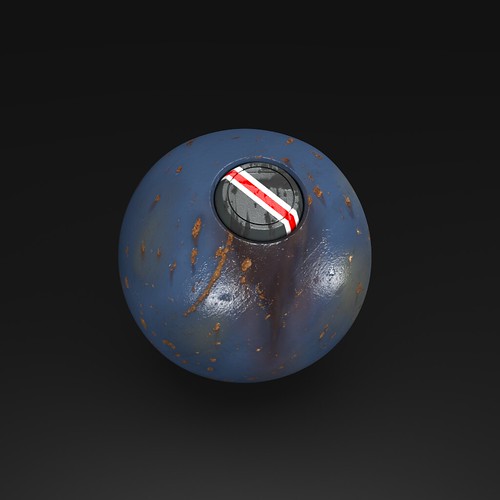
Here it's the final result on the sphere with all the texture applied:

passo4

Be patient during this stage: the more detail you will draw, the more realistic result you'll get.

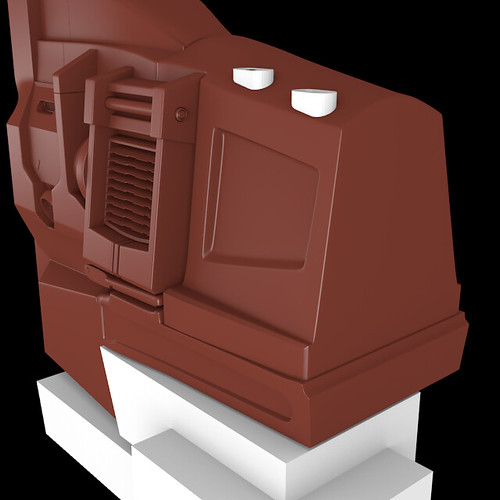
Now do the same on the detail.

Diffuse + specular texture:

passo5

Stencil + rust texture:

passo6

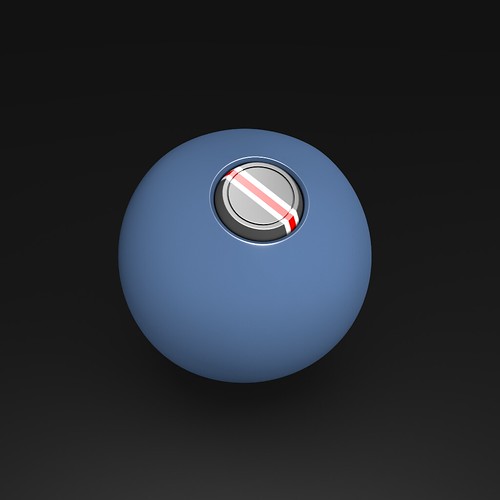
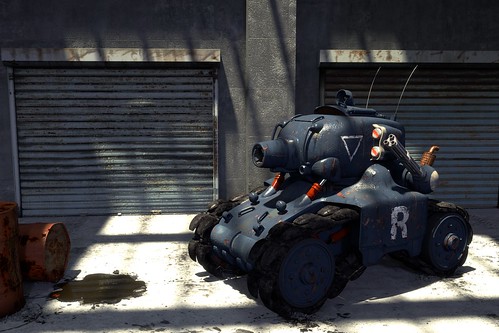
And the final result (for the decal, I used photoshop for the chipping paint effect):

wheathered

And here is the .blend file of my work.

I hope I was clear; if you don't understand some step, if you have any suggestions or tips, let me know (especially corrections of my poor English).


edit post