Updated the textures of the tank:

I lowered the reflectivity of the paint, added rust, leaking and discoloration.
The modulations of the textures were made with project painting in blender, maybe I'll write a mini-tutorial to say how I did it.
In addition, the tracks were darkened considerably, making the overall more homogeneous.
Now begins the post processing stage.
It's almost finished.
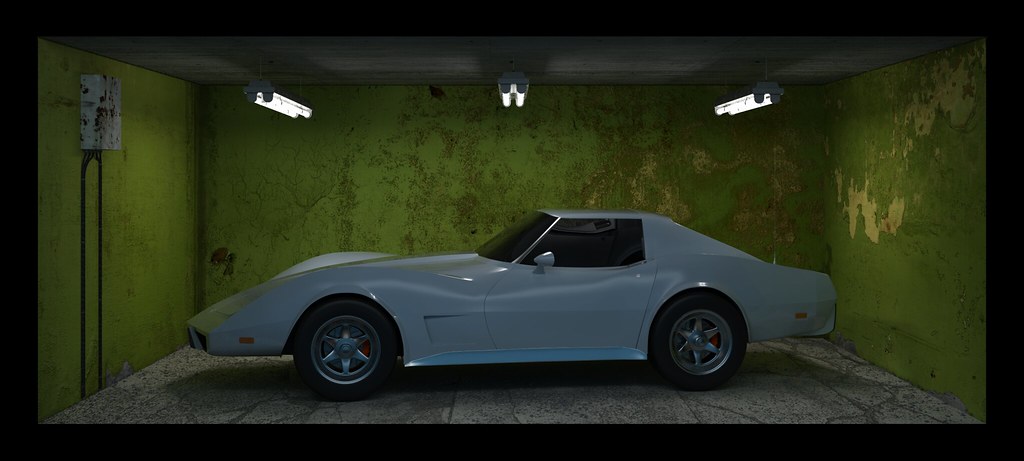
Here's the result of the textures work:

I'm not so convinced about the texture of the wall and of the tank (it's too plain), and on the oil slick.
Things to do: dof, post process with the nodes, add some detail.
▲
Thanks again for the compliment :)
@pbrad: yep, you're right, I used a physically correct render :) My setup is similar to what you can found in the file "Studio render of Nissan Pathfinder", here:
http://www.yafaray.org/download/examples
So thanks to the Emirage for the fantastic set-up.
The environment is finished, here's a clay render:


I took inspiration from one of the last tutorial of Andrew Price (here
http://www.blenderguru.com/how-to-create-realistic-outdoor-lighting/) adding a bit of details, and a hdri to to improve the reflections.
It seems over exposed, but adding the texture should fix it.
And here the wireframe as promised:

The barrels and the shutters were first modeled perfectly straight, and then twisted and ruined using lactice.
I also uv-unwrap all the models that I need:

The next step is the material/texture!
▲
I started this project for a little contest with my friends, where the theme was "tanks". I immediately thought of the famous and fantastic "partner" of all the matches I have done playing Metal Slug, and I started work immediately.
I was inspired by these images:


The result it's this:


I also made a turnaround to show all the details (watch it in HD)
Now come the wire render of the tank:


Now, to make a wire rendering it is easier than I thought: first of all you have to give your object a wire material, activating the Z-transparency and setting the z-offset value around 0.02 to 0.03, as in the image:

At this point in the same object, add a second material (which will be the base color) and assign it to the entire object in edit-mode. And that's it all!
Rendering the scene, and you will have a beautiful wire render:

The next step is the environment.
I hope you like it! Stay tuned.
▲
I want to show you one of the last jobs I'm working on! It is a walker designed by Doug Chiang, founded in the book Mechanika (which I recommend to buy for all lovers of this style).
This is the artwork on which I am inspired:

The upper part is almost over, there are only a few details and the back side (not in seeing the design I will have to re-invent entirely)


I think to leave all the object as is for now; I prefer to finish all the parties of the upper body and then I'll add some details and adjust the models consistently with the overall design.
▲
This is my first object with a complex topology, and the first time I used the uv-unwrapping for the environment.
The scene was modeled in blender 2.5 and rendered using yafaray under the 2.49. Some minor touch in post pro, using photoshop.
Textures are from
http://www.cgtextures.com/index.php
Hope you like it
 Hi-res pic


Some wip images:


▲
A simple monolite of my logo, done in blender 2.56 and Yafaray.
The grass come from this exemple file here:
http://s3bi.wordpress.com/2009/06/22/exemples-pour-yafaray

▲
One of my passions is to craft things, and what could be more captivating than a lamp? A lot of things, but I have decided to make one because it seemed interesting.
Initially I made the whole project in blender, making some test render in yafaray:


Then I converted the project into vector drawings that I have laser cut on acrylic sheets 3 mm thick, making this one:


Consisting of 131 pieces, is large 22 cm x 22 cm x 22 cm.
If you're fascinated by this sort of thing, take a look at my shop, you can bought it at a reasonable price.
▲


